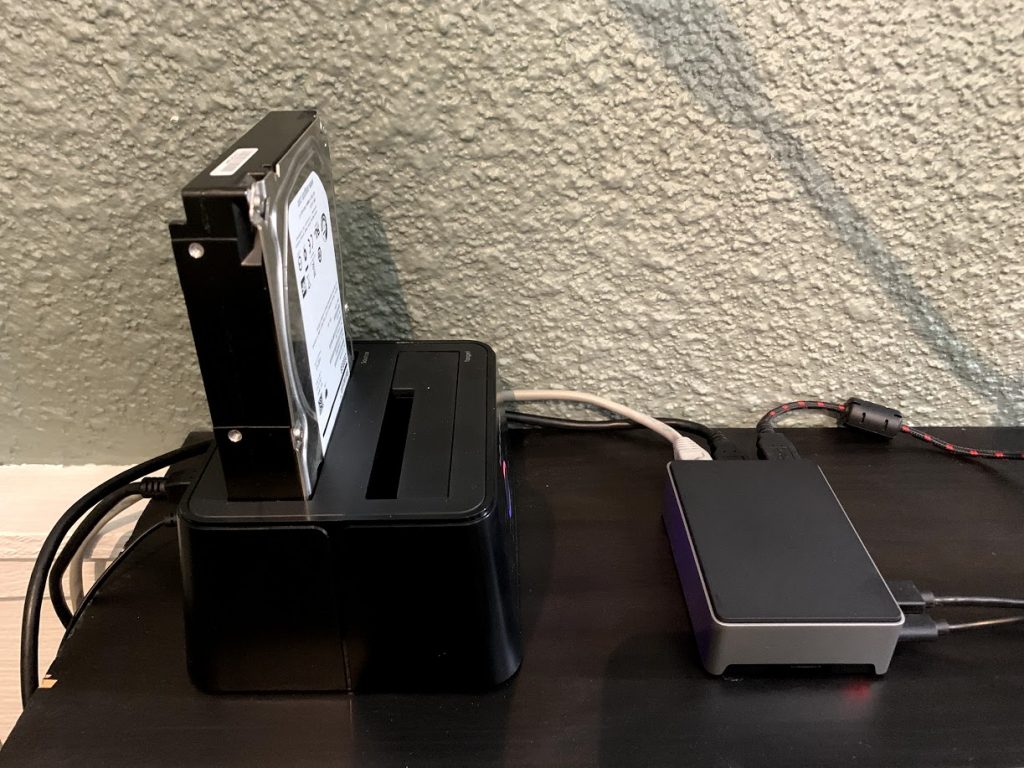
I wanted to build a silent NAS server out of a Raspberry Pi and a USB 3 hard drive enclosure. I already build one in the previous article out of an old Celeron PC that was gifted to me. While the pc is a faster server in every way, I wanted something that was dead quiet and didn’t take up much room.

The steps to build this was very similar to the PC server. Begin with getting a fresh copy of Ubuntu server 20 onto a micro SD card via
Hardware required:
- Raspberry Pi (any model can handle serving files)
- Pi Enclosure (I am using the fan less Flirc Case)
- Ethernet Cable, USBC Cable for power
- Hard Drive (I am using 2TB Seagate Barracuda)
- Hard Drive Enclosed (I am using a toaster style for better ventilation)
- 32gb SD Card for Ubuntu OS
1) Install Ubuntu on the SD Card
This step got super easy with the new Raspberry Pi Imager app released this year. Go to Raspberry Pi OS – Raspberry Pi and download the imager app and it will download the OS you pick and place it on the SD Card in one step. I decided to go with Ubuntu server since I already had practice installing on my PC earlier.
Pop your SD Card into the Pi and reboot and you should eventually find yourself on the console prompt. Time to run an update so everything is at the latest versions.
sudo apt-get update
sudo apt-get upgrade
2) Setup a User
The default user is ubuntu and the password is ubuntu. I believe it will ask you to change that password right after logging in. Then we can create our own user.
sudo useradd northern
Then we have to add this user to the sudo group so it inherits permission to do more low level things.
usermod -aG sudo northern
3) SSH into your Pi
Up until now I was just using a keyboard and monitor plugged into the Pi. But we can easily just SSH into our Pi using our main PC and declutter the table of the extra hardware.
We need to find the IP address of our Pi. Type the command below and make note of your internal IP. Mine was along the lines of 192.168.1.100
ip addr show
I use a windows terminal app called Cmder which suites me fine. It is basically a nicer command line replacement that supports copy/pasting. Grab Cmder and in the console prompt type the line below substituting your IP username and IP address:
ssh northern:192.168.1.100
4) Setup Firewall
sudo ufw status
This command will say if Uncomplicated Firewall is running. If it is not, install it like this:
sudo apt-get install ufw
Then configure the ports we want open:
sudo ufw allow ssh
sudo ufw allow http
sudo ufw allow 80/tcp     //another way specifying actual ports
Then enable the firewall
sudo ufw enable
5) Setup the data storage disk
Pop the hard drive into the USB enclosure, power it up and connect it to the Pi. Lets check to see if the drive is detected:
sudo lsblk -o NAME,FSTYPE,SIZE,MOUNTPOINT,LABEL
I could find my drive was /dev/sda and happened to have an existing NTFS partition on it. You can find your drive by looking at the file system and storage sizes. Lets create a new partition :
Create a new partition
fdisk /dev/sda1
- at the prompt:
- press
'o'to create an empty new partition - press
'n'to add a new partition - press
'p'for primary and then<enter>for default values for sector sizes etc. - press
'w'to write to disk and exit fdisk - repeat this for the second disk
(in my case /dev/sda)
Create the file system on the new partition
Create a folder where the filesystem will mount to:
mkdir /mnt/nas
sudo mkfs.ext4 /dev/sda1
sudo mount /dev/sda1 /mnt/nas
sudo chown <username>: /mnt/nas
Modify /etc/fstab to automatically mount the drives on boot
blkid /dev/sda
cp /etc/fstab /etc/fstab.back
nano /etc/fstab
The first line lets us find the UUID of the drive (c2afdb43….) Make a note of that UUID as we will enter it into the last line of the fstab file.
UUID=40e56afa-cac1-40a5-bb10-4cfd03f9c202 /mnt/nas ext4 errors=remount-ro 0 1
Your UUID will differ and you can change where you want to mount the drive. Press Ctrl + o to save, Ctrl + o to exit Nano. We can test by unmounting all and remounting all. (or alternatively just reboot the Pi).
sudo umount -a
sudo mount -a
4) Setup Samba file sharing
This part is completely identical to the steps I when setting up a NAS on my old Celeron PC. I will let you head over there for now until I find the will to copy all that info here later.
5) Setup CUPS Printer Sharing
Follow through to my next article on Setup a CUPS Print Server on Ubuntu